Baking & Desserts Classic Vanilla Butter Cake
Highlighted under: Sweet Indulgence
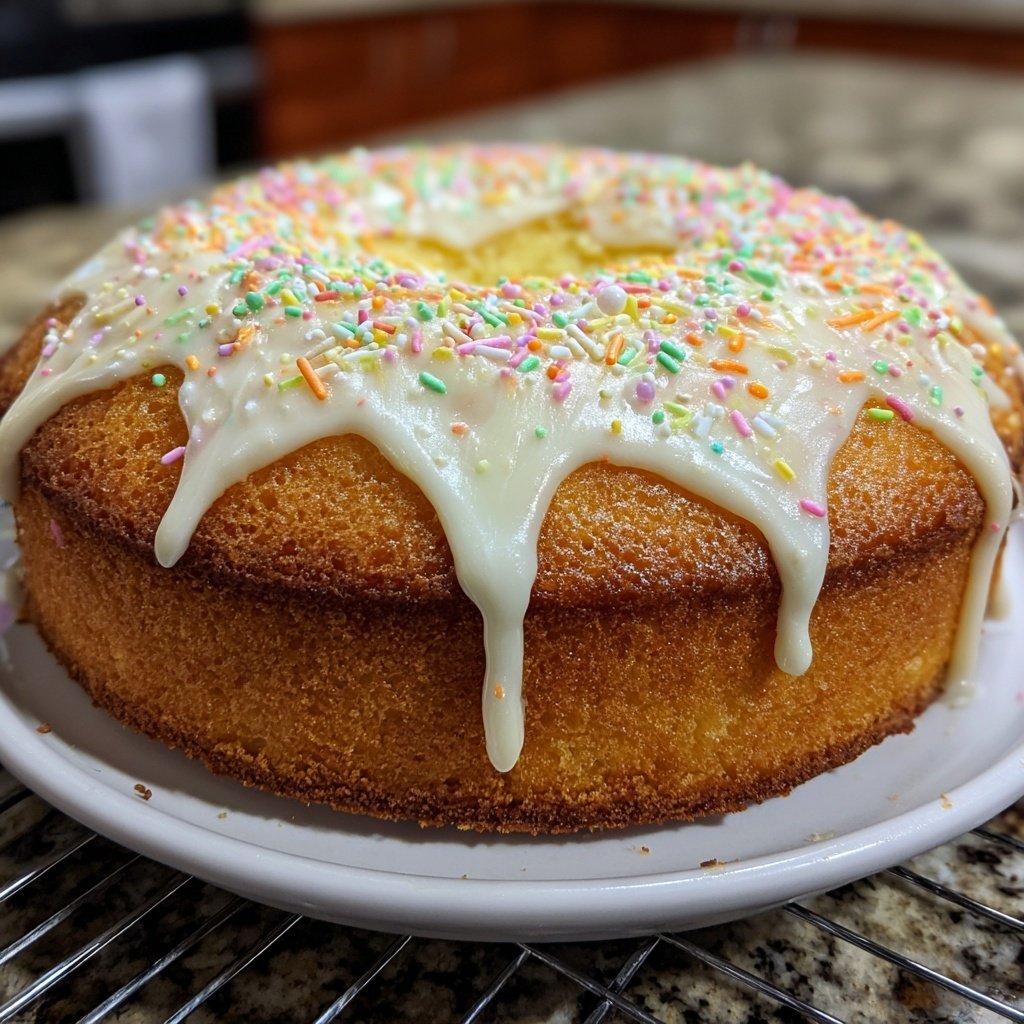
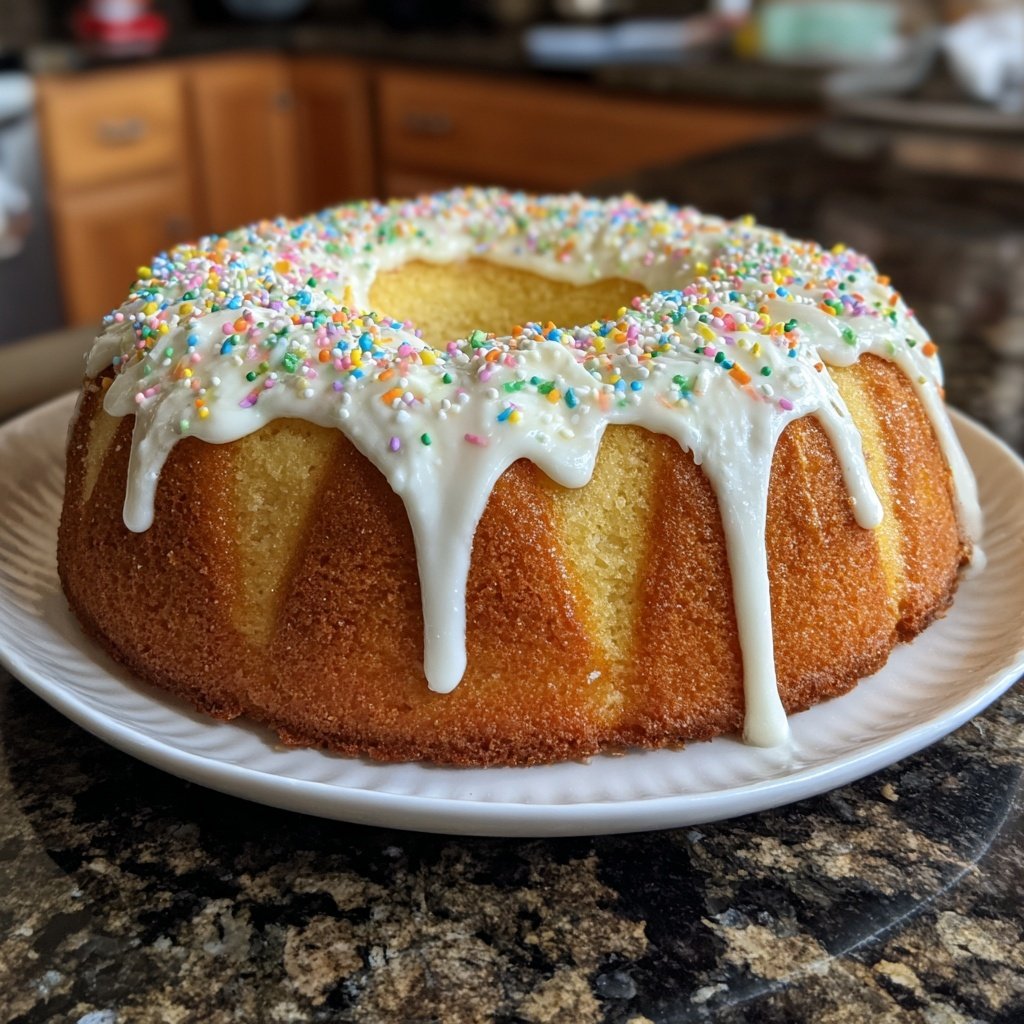
I absolutely love baking, and this Classic Vanilla Butter Cake is one of my all-time favorites. The rich, buttery flavor paired with the delightful aroma of vanilla fills my kitchen with warmth. It’s the perfect canvas for any occasion, whether it's a birthday celebration or a cozy afternoon tea. What I particularly enjoy is how simple the ingredients are, yet the results are always impressive. With just a few basic staples and a little patience, you can create a cake that’s sure to impress everyone around the table.
Baking this Classic Vanilla Butter Cake brings back wonderful memories of my childhood. I remember my grandmother teaching me the importance of creaming the butter and sugar well, which gives the cake its fluffy texture. This step is crucial because it incorporates air into the batter, resulting in a light and airy cake that pairs wonderfully with whipped cream or fresh fruit.
Over the years, I’ve experimented with different flavorings and toppings but have always come back to the classic vanilla version. The vanilla extract I use is pure, which adds a depth of flavor that makes each bite delightful. For a fun twist, try adding a hint of lemon zest or almond extract for a subtle change.
Why You'll Love This Recipe
- Rich buttery flavor with a hint of vanilla
- Perfectly moist texture that lasts for days
- Versatile base for various frostings and fillings
Mastering the Perfect Texture
Achieving the perfect texture in your Classic Vanilla Butter Cake is all about the creaming method. When you cream the softened butter and sugar, aim for a pale, fluffy mixture; it should take about 3-5 minutes using a stand mixer on medium speed. This process incorporates air, which will help your cake rise beautifully. If you're using a hand mixer, keep an eye on the texture to ensure you don't under or over-mix; the goal is a light and airy base.
Another key to a moist cake lies in the careful alternation of dry ingredients and milk. When you add flour, baking powder, and salt to the butter mixture, do so in thirds, starting and ending with the flour. This not only ensures even incorporation but also reduces the risk of over-developing gluten, which can lead to a dense cake. Mix just until combined—the batter should still be slightly lumpy.
Remember, the type of flour you use significantly impacts the cake's lightness. All-purpose flour is ideal as it provides the right balance of protein for structure without making it too heavy. If you need a gluten-free option, a 1:1 gluten-free baking flour blend can work in this recipe, but always remember to check your leavening agents to avoid a dense texture.
Flavor Enhancements and Variations
While the classic flavor is always a hit, there are countless ways to elevate your Vanilla Butter Cake. Consider infusing the milk with fresh vanilla beans for an even deeper vanilla flavor. Simply simmer the milk with split vanilla beans and allow it to cool before incorporating it into your batter. This extra step enhances the cake's richness, making every bite unforgettable.
You can also experiment with additional flavors by adding citrus zest like lemon or orange. Just a tablespoon of finely grated zest can brighten the cake and offer a refreshing contrast to the sweetness. Pair the citrus with a zesty cream cheese frosting for a delightful twist that’s perfect for spring and summer gatherings.
For those looking to make the cake even more decadent, fold in 1/2 cup of chocolate chips or fruit like raspberries or blueberries into the batter. This variation not only adds flavor but also creates visually appealing flecks of color throughout the cake, making it perfect for celebrations.
Storing and Serving Your Cake
After baking, let your Vanilla Butter Cake cool completely before storing. Wrap each layer in plastic wrap, and it will keep well at room temperature for up to three days. For longer storage, consider freezing the un-frosted cake layers. Wrap them tightly in plastic wrap and aluminum foil, and they can last in the freezer for up to three months. When ready to enjoy, thaw them in the refrigerator overnight before frosting and serving.
Serving suggestions abound with this versatile cake. A classic buttercream frosting creates the traditional look, but don't shy away from whipped cream or a fruit glaze for a lighter option. Pair slices of the cake with fresh berries or a scoop of vanilla ice cream for an indulgent dessert experience, perfect for summer gatherings.
If you're looking for an impressive presentation, consider stacking the layers with varying fillings, such as a layers of lemon curd or chocolate ganache; this adds a delightful surprise to each slice. Remember, serving at room temperature enhances the flavors, so let the cake sit out for about 30 minutes prior to serving for the best taste experience.
Ingredients
Ingredients
Classic Vanilla Butter Cake Ingredients
- 1 cup unsalted butter, softened
- 2 cups granulated sugar
- 4 large eggs
- 1 tablespoon pure vanilla extract
- 3 cups all-purpose flour
- 1 tablespoon baking powder
- 1/2 teaspoon salt
- 1 cup whole milk
Make sure to gather all the ingredients before you start for a smoother baking experience!
Instructions
Instructions
Preheat the Oven
Preheat your oven to 350°F (175°C) and grease two 9-inch round cake pans.
Cream Butter and Sugar
In a large mixing bowl, cream together the softened butter and granulated sugar until it's light and fluffy.
Add Eggs and Vanilla
Add the eggs one at a time, mixing well after each addition, then stir in the vanilla extract.
Mix Dry Ingredients
In another bowl, combine the flour, baking powder, and salt. Gradually add to the butter mixture, alternating with the milk, until fully combined.
Bake the Cake
Divide the batter evenly between the prepared pans and bake for about 30 minutes, or until a toothpick comes out clean.
Cool and Serve
Allow the cakes to cool in the pans for 10 minutes, then turn out onto wire racks to cool completely before frosting.
Once cooled, feel free to frost with your favorite icing or enjoy it plain!
Pro Tips
- For an extra moist cake, consider brushing the layers with simple syrup before frosting. You can also store the cake covered at room temperature for up to three days.
Troubleshooting Common Issues
If your cake doesn't rise as expected, check the freshness of your baking powder. It should be stored in a cool, dry place and can be tested by adding a teaspoon to warm water; if it bubbles vigorously, it’s still good. Also, ensure that your butter is at the right consistency. If it’s too warm and greasy, it won't create the air pockets necessary for rising.
A cake that comes out too dry can result from overbaking or not enough moisture in the batter. To avoid this, keep an eye on baking times, and start checking for doneness a few minutes early. The cake is ready when the edges start to pull away from the sides of the pan, and a toothpick inserted in the center comes out with a few moist crumbs—not wet batter.
If your frosting is too runny, adding a bit more powdered sugar can thicken it up, but make sure to do so gradually to avoid overly sweet flavors. Conversely, if your frosting is too thick, a teaspoon of milk or heavy cream can help reach the desired consistency.
Scaling the Recipe
Should you need to make a larger cake for a gathering, this recipe can easily be doubled. Just ensure you have the right-sized pans; for instance, using three 9-inch round cake pans instead of two will allow for a taller cake. Adjust baking time slightly, as thinner layers will often bake quicker. Keep your eye on them and check for doneness around 25 minutes.
When scaling down the recipe, consider using smaller pans such as 6-inch rounds or even a loaf pan. Adjust the baking time accordingly because smaller cakes often bake faster. Always perform a toothpick test to check doneness since oven temperatures can vary.
Each batch can also be flavored differently; feel free to bake mini versions with assorted flavors using extracts like almond or coconut in separate pans. This not only gives you variety but also makes for an inviting dessert table.
Creative Serving Ideas
For an eye-catching presentation, consider making layered slices by stacking cake layers with a flavored frosting between them. Decorate the top with seasonal fruits, edible flowers, or a sprinkle of powdered sugar for an elegant touch. This cake also serves wonderfully alongside a well-paired drink, such as a robust black coffee or a light tea.
If you want a show-stopping dessert, transform your cake into a trifle. Cut the layers into cubes and layer them with whipped cream and fresh fruit in a large glass bowl. This not only looks beautiful but can also serve a crowd, making it an excellent choice for gatherings.
Don't forget about breakfast! A slice of this buttery delight pairs wonderfully with your morning coffee. Feel free to toast slices and enjoy them warm with a pat of butter or a drizzle of honey for a comforting morning treat.
Questions About Recipes
→ Can I use cake flour instead of all-purpose flour?
Yes, cake flour will give you a lighter texture, but ensure to adjust the measurements accordingly.
→ How do I know when the cake is done baking?
The cake is done when it springs back lightly when touched and a toothpick inserted in the center comes out clean.
→ Can I freeze the cake?
Absolutely! You can freeze the baked cakes wrapped in plastic wrap for up to three months. Make sure to thaw them completely before frosting.
→ What can I use instead of eggs?
For an egg substitute, you can use applesauce, yogurt, or a flaxseed meal mixed with water, which will provide moisture and binding.
Baking & Desserts Classic Vanilla Butter Cake
Created by: Bethany Clarke
Recipe Type: Sweet Indulgence
Skill Level: Basic
Final Quantity: 8 servings
What You'll Need
Classic Vanilla Butter Cake Ingredients
- 1 cup unsalted butter, softened
- 2 cups granulated sugar
- 4 large eggs
- 1 tablespoon pure vanilla extract
- 3 cups all-purpose flour
- 1 tablespoon baking powder
- 1/2 teaspoon salt
- 1 cup whole milk
How-To Steps
Preheat your oven to 350°F (175°C) and grease two 9-inch round cake pans.
In a large mixing bowl, cream together the softened butter and granulated sugar until it's light and fluffy.
Add the eggs one at a time, mixing well after each addition, then stir in the vanilla extract.
In another bowl, combine the flour, baking powder, and salt. Gradually add to the butter mixture, alternating with the milk, until fully combined.
Divide the batter evenly between the prepared pans and bake for about 30 minutes, or until a toothpick comes out clean.
Allow the cakes to cool in the pans for 10 minutes, then turn out onto wire racks to cool completely before frosting.
Extra Tips
- For an extra moist cake, consider brushing the layers with simple syrup before frosting. You can also store the cake covered at room temperature for up to three days.
Nutritional Breakdown (Per Serving)
- Calories: 380 kcal
- Total Fat: 26g
- Saturated Fat: 15g
- Cholesterol: 195mg
- Sodium: 85mg
- Total Carbohydrates: 32g
- Dietary Fiber: 3g
- Sugars: 24g
- Protein: 6g