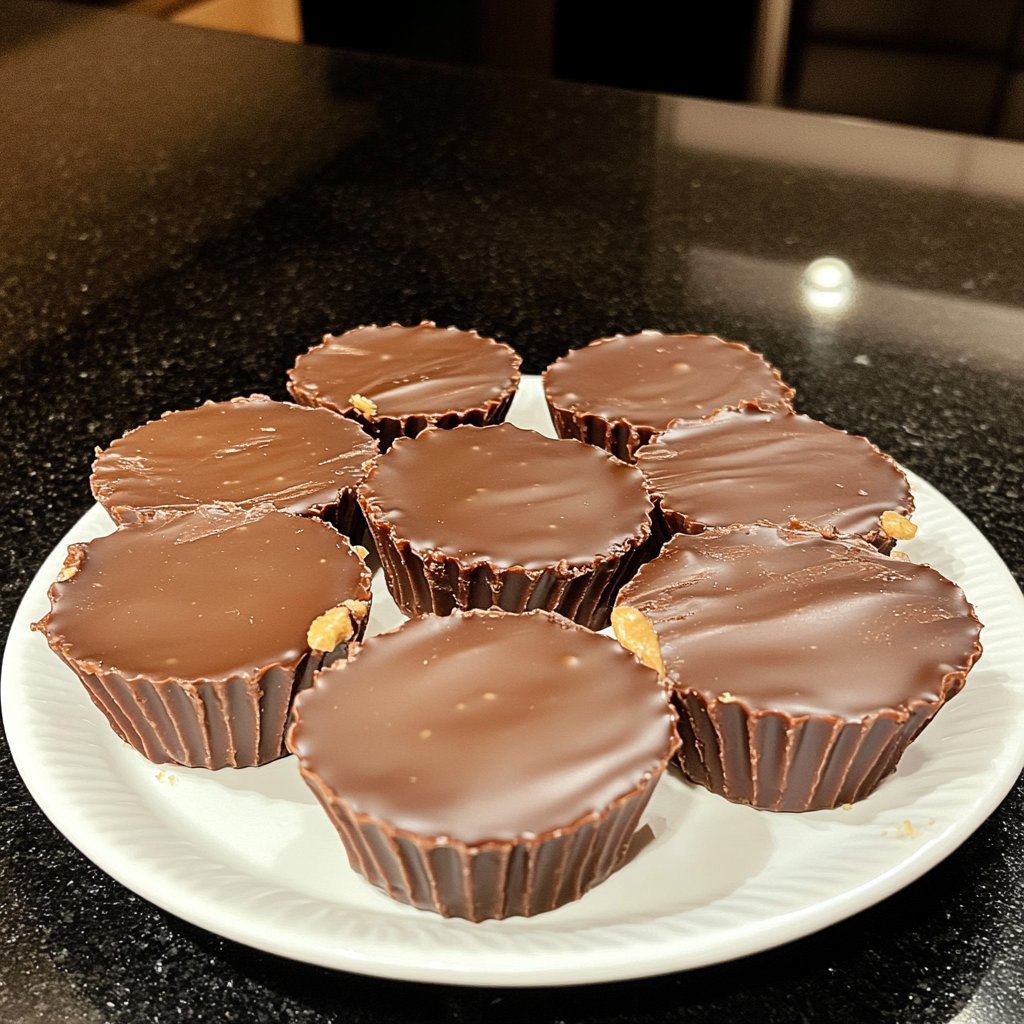
Homemade Peanut Butter Cups Classic
Highlighted under: Sweet Indulgence
I absolutely love making my own peanut butter cups at home! There's something incredibly satisfying about combining creamy peanut butter with rich chocolate, and the process is so simple. I find that making these treats myself enhances their flavor, allowing for a personal touch that store-bought options just don’t capture. They make for a perfect snack or dessert, and everyone in my family enjoys them. Plus, I can customize them with different toppings or fillings if I want to get creative!
Making my own peanut butter cups has become a delightful ritual for me. I remember the first time I decided to whip them up; I was amazed at how straightforward they were to prepare. The secret is in melting the chocolate just enough to create that smooth, glossy coating. Plus, the homemade peanut butter filling is so much tastier than any processed version!
As I perfected my technique, I discovered that using a little bit of powdered sugar in the filling elevates the taste and brings a subtle sweetness to each bite. Now, I can make these classic treats any time I crave a sweet snack, and they never fail to impress!
Why You'll Love This Recipe
- Rich chocolate and creamy peanut butter combination
- Simple ingredients that you probably already have
- Perfect for sharing or keeping all to yourself
The Importance of Quality Chocolate
Choosing high-quality chocolate is crucial for the flavor of your homemade peanut butter cups. I recommend using good-quality milk chocolate chips, as they will melt smoothly and offer a rich, creamy texture. Look for options with a high cocoa content, around 30-35%, to have a balanced sweetness. The addition of coconut oil not only helps to achieve a sleek finish but also prevents the chocolate from becoming too firm when chilled, creating that perfect melt-in-your-mouth experience.
When melting the chocolate, be cautious with the microwave. Use low heat and stir frequently to avoid seizing or burning the chocolate. If you notice any graininess or clumping, consider adding a small splash of milk or more coconut oil to bring it back to a smooth consistency. This chocolate layer serves as the foundation of your treat, so ensuring its quality and texture will make a significant difference in the final product.
Perfecting the Peanut Butter Filling
The peanut butter filling is the heart of these cups, and getting the consistency just right is essential. Using creamy peanut butter ensures that the filling is smooth and easy to spread. If you prefer a crunchier texture, consider using a chunky peanut butter option; just be prepared for a more textured bite. Mixing in the powdered sugar adds sweetness and helps thickens the filling. Adjust the sugar to your taste—more for sweeter cups or less if you prefer it less sugary.
If you’re looking to make these peanut butter cups vegan, you can substitute the milk chocolate with dairy-free chocolate chips and use a natural peanut butter that contains only peanuts and salt. Just be aware that natural peanut butters may require a bit more mixing, as they can be runnier than traditional brands. This adjustment will allow you to enjoy a delicious homemade treat that aligns with dietary preferences without sacrificing flavor.
Ingredients
For the Cups
- 1 cup milk chocolate chips
- 1 tablespoon coconut oil
For the Peanut Butter Filling
- 1 cup creamy peanut butter
- 1/2 cup powdered sugar
- 1/2 teaspoon salt
Instructions
Instructions
Melt the Chocolate
In a microwave-safe bowl, combine the chocolate chips and coconut oil. Microwave in 30-second intervals, stirring in between, until smooth and fully melted.
Prepare the Muffin Tin
Line a muffin tin with cupcake liners. Using a spoon, add a tablespoon of the melted chocolate into each liner, spreading it around the base. Place in the refrigerator for 10 minutes to set.
Make the Filling
In another bowl, mix the peanut butter, powdered sugar, and salt until well combined and smooth.
Assemble the Cups
Once the chocolate has set, add a tablespoon of the peanut butter filling on top of the chocolate layer in each liner. Then, cover with another tablespoon of melted chocolate, spreading it to seal the edges.
Chill and Serve
Return the muffin tin to the refrigerator for about 20 minutes, or until the chocolate is solid. Remove the liners and serve chilled or at room temperature.
Enjoy!
Pro Tips
- For a fun twist, try adding crushed nuts or sea salt on top before the final layer of chocolate sets.
Storage and Make-Ahead Tips
These homemade peanut butter cups can be stored in an airtight container in the refrigerator for up to two weeks. If you want to keep them even longer, consider freezing them. Just make sure they are well-wrapped or placed in a freezer-safe container. To enjoy, simply let them thaw at room temperature for a few minutes before indulging. This makes them a great make-ahead treat for special occasions or snacks throughout the week.
When making these cups in advance, it's a good idea to under-fill each cup slightly. This way, additional layers or toppings can be added later without spilling over. If you decide to add toppings, such as crushed nuts or a sprinkle of sea salt, do so after the final chocolate layer is added but before it sets, ensuring they stick well. This will give each cup a gourmet finish.
Customizing Your Peanut Butter Cups
Feel free to get creative with your peanut butter cups! You can easily swap in other nut butters, such as almond or cashew butter, for an interesting twist on the flavor. Just keep in mind that the sweetness and consistency may vary slightly depending on the nut butter chosen, so you might need to adjust the amount of powdered sugar accordingly. Additionally, adding a pinch of cinnamon or vanilla extract into your peanut butter mixture can enhance the flavor profile even more.
Consider experimenting with the chocolate layer as well. Try using dark chocolate or even white chocolate, depending on your preference. For added texture and flavor, you could also coat the bottom of each cup with crushed graham crackers or cookies before adding the peanut butter filling. This not only adds a tasty crunch but also introduces a delightful hint of flavor that complements the rich peanut butter.
Questions About Recipes
→ Can I use dark chocolate instead of milk chocolate?
Absolutely! Dark chocolate adds a richer flavor and pairs wonderfully with the peanut butter.
→ How should I store my peanut butter cups?
Store them in an airtight container in the refrigerator for up to two weeks.
→ Can I make these gluten-free?
Yes, all the ingredients listed are naturally gluten-free. Just ensure your chocolate is certified gluten-free.
→ Is there a way to make these vegan?
Yes! Substitute the chocolate chips with dairy-free chocolate and use maple syrup instead of powdered sugar for the filling.
Homemade Peanut Butter Cups Classic
What You'll Need
For the Cups
- 1 cup milk chocolate chips
- 1 tablespoon coconut oil
For the Peanut Butter Filling
- 1 cup creamy peanut butter
- 1/2 cup powdered sugar
- 1/2 teaspoon salt
How-To Steps
In a microwave-safe bowl, combine the chocolate chips and coconut oil. Microwave in 30-second intervals, stirring in between, until smooth and fully melted.
Line a muffin tin with cupcake liners. Using a spoon, add a tablespoon of the melted chocolate into each liner, spreading it around the base. Place in the refrigerator for 10 minutes to set.
In another bowl, mix the peanut butter, powdered sugar, and salt until well combined and smooth.
Once the chocolate has set, add a tablespoon of the peanut butter filling on top of the chocolate layer in each liner. Then, cover with another tablespoon of melted chocolate, spreading it to seal the edges.
Return the muffin tin to the refrigerator for about 20 minutes, or until the chocolate is solid. Remove the liners and serve chilled or at room temperature.
Extra Tips
- For a fun twist, try adding crushed nuts or sea salt on top before the final layer of chocolate sets.
Nutritional Breakdown (Per Serving)
- Calories: 380 kcal
- Total Fat: 26g
- Saturated Fat: 15g
- Cholesterol: 195mg
- Sodium: 85mg
- Total Carbohydrates: 32g
- Dietary Fiber: 3g
- Sugars: 24g
- Protein: 6g